 Painting Miniatures
 Painting Miniatures
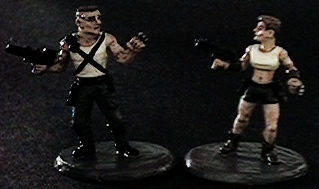
As a review of the step by step process of miniature painting, I have tracked these figures from opening the package to fully painted. During a lull in the role-playing activities at SteelCon 99 in Stillwater, Oklahoma, I had the opportunity to sit down and paint some miniatures with Jonathan Keepers. The figures he had available were primarily historical, so I stopped into the dealer room next door to find some miniatures that I preferred. Pictured here are Ral Partha Shadowrun figures #20-562 Street Samurai, Male & Female by T. Meier which I purchased for the total price of $2 from Craig at Pharaoh's Guard game store.
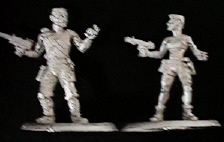
Step One: Cleaning) Out of the package, these figures a had a little bit of flash. It cleaned up easily. Pictured here are the cleaned, unpainted figures.
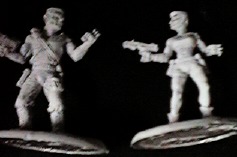
Step 2: Priming) Having no spray paint on hand, I covered the figures in an even coat of white acrylic. Spray primer is preferred, but not always necessary if the figures are handled gently.
Step 3: Base skin tones) Examining the miniatures, I decided that the skin tones were the best place to start. Building the paint from the bottom layers, the skin was the logical first choice. Here the miniatures have been base coated with a dark version of the eventual skin tones. This layer of paint will eventually reflect the color of the skin seen in shadow. Using a 00 brush, I have carefully painted over the primer on the skin areas.
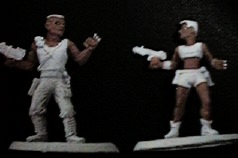
Step 4: Highlight Skin tone and eyes) Using the same 00 brush, I dry brushed the lighter skin highlights over the skin areas. Leaving the rest of the figure white at this point allows be to dry brush without worrying about hitting other areas. Stray paint can be covered later.
Using the tip of the brush, I painted the eyeballs white. Over painting is expected when doing eyeballs. Once the white was applied, I made vertical stripes of brown for the iris areas of the eyes. Once dry, I painted the eye lids fresh in the darker skin tone over the over painted white and brown. This neatened the eyes and darkened the eye sockets.
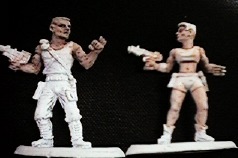
Step 4: Base clothing) A drop of yellow mixed with quite a few drops of white made the cream color basing the shirts. The pants are a flat brushed forest green.
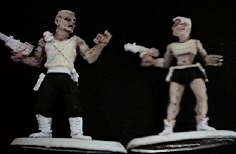
Step 5: Highlight clothing and base accouterment) The shirt is drybrush highlighted in pure white while the pants are highlighted similarly with forest green mixed with white. Leather accouterments are painted flat black with any highlighting on these in dry brushed brown and tan. Weapons are painted flat black. Claws are based in with black mixed with silver, with straight silver highlights.

Step 6: Hair and sealant coat) Hair is painted in with straight brown as a base. Highlights are brown mixed with white and yellow. Eyebrows are each a single thin brown line. Once dry, the miniatures were sprayed with a clear gloss coat for protection. The glossy surface will wear off quickly through handling.
